20 DIY Storage Bin Ideas You Will Use Every Day
DIY storage bin ideas with real steps and sizes, from a simple tote storage rack to fabric storage boxes, crate shelving and budget bins.
This post may contain affiliate links. If you buy through them, we may earn a small commission at no extra cost to you. Images are AI-created concepts.
In this post
- A Simple 2×4 Tote Storage Rack
- A Narrow Tote Rack Inside a Closet
- Shelves Sized for Your Storage Tubs
- Label the Short End of Every Tote
- Fabric-Covered Cardboard Storage Boxes
- Cloth Storage Boxes for Clothes
- Shoe Box Drawer Organizers
- Rope-Wrapped Bins
- Wooden Crate Shelving
- Rolling Crates Under the Bed
- A Painted Crate Bookcase
- Cereal Box Desk Organizers
- Glass Jars for Small Supplies
- No-Sew Felt Baskets
- Canvas Bins With Leather Handles
- Contact Paper Makeover for Plastic Bins
- Clear Bins for Kids’ Toys
- Scrap Wood Shelf Risers
- Seasonal Bins Stored Up High
- A Simple Bin Inventory
Store-bought storage adds up fast. A set of matching bins, a shelving unit for totes and a few fabric boxes can cost more than the things you want to store.
These DIY storage bin ideas cover both sides of the problem: the bins themselves and where to put them. You will find a simple tote storage rack you can build in an afternoon, homemade fabric storage boxes, crate shelving, office organizers from recycled boxes and easy makeovers for plastic bins you already own.
Each idea comes with a cost level, real sizes where they matter and the steps you need, so you can pick one and finish it this weekend.
1. A Simple 2×4 Tote Storage Rack
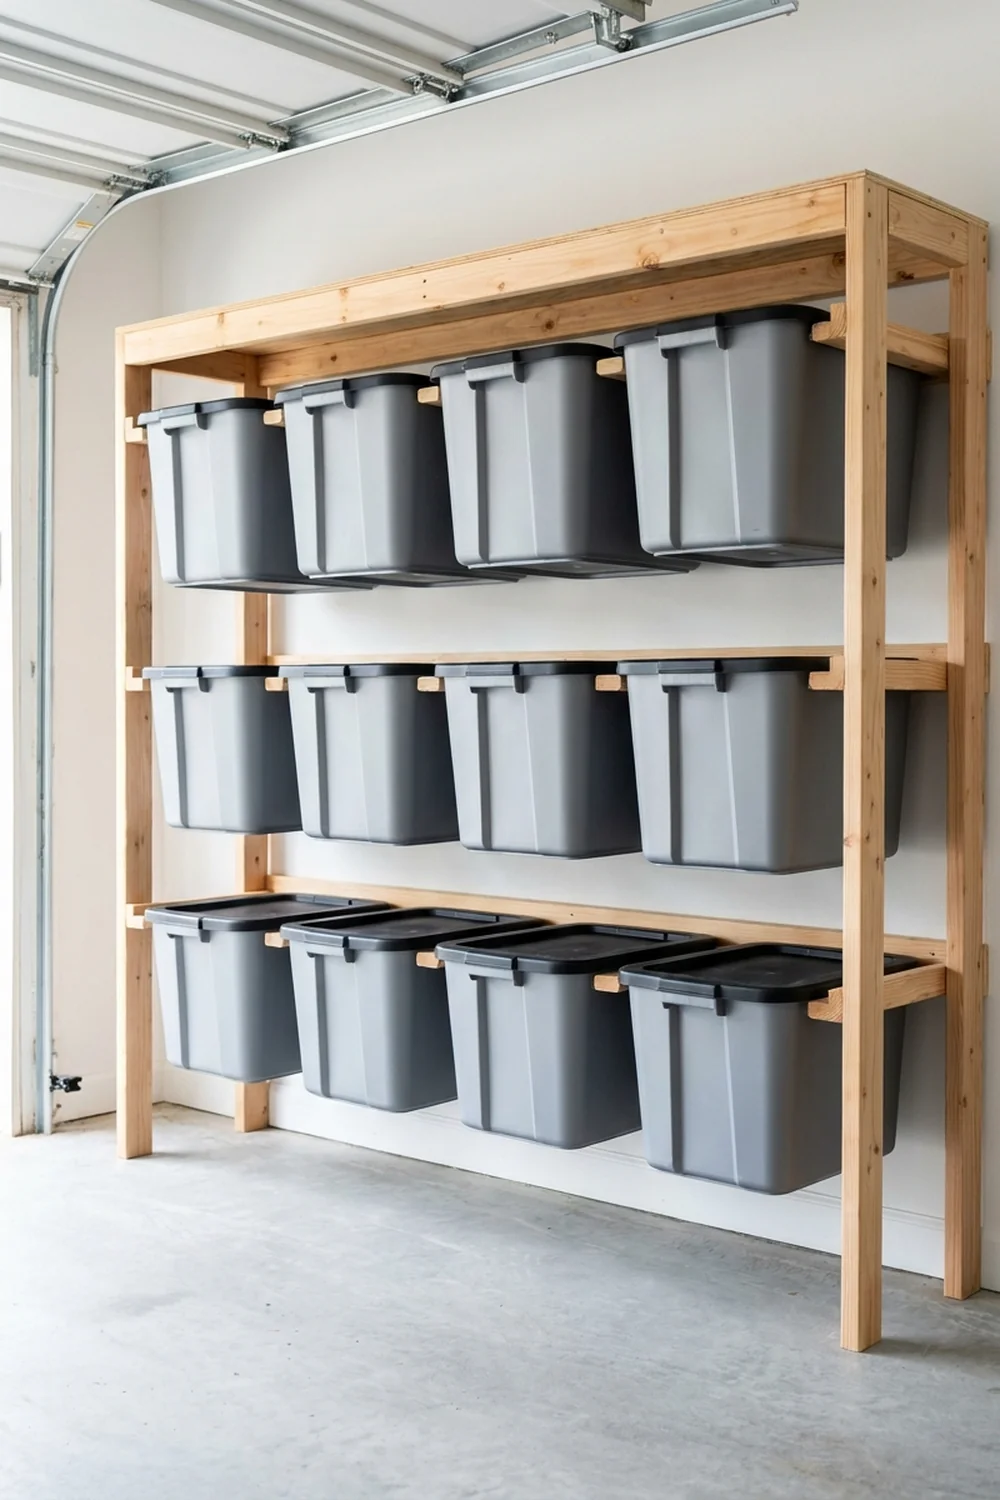
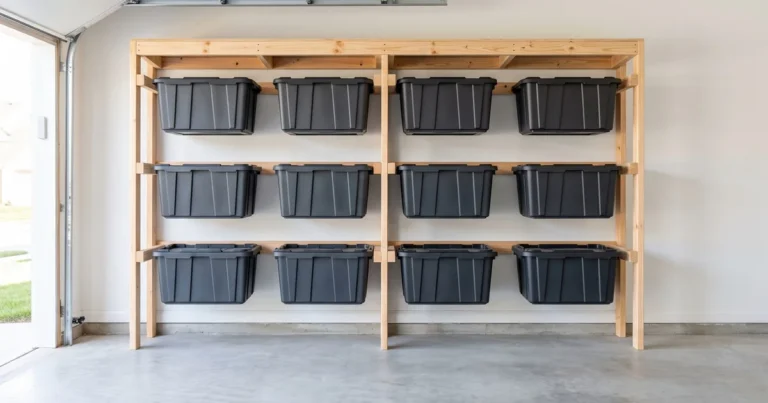
A tote rack holds plastic storage bins by their lips, so you can pull out any tote without lifting the ones on top. It is the most useful DIY storage you can build for a garage or basement.
- Measure one tote: the width of the body and the width of the lip.
- Build two side frames from 2x4s, one for each end of the rack.
- Screw 1×3 or 2×2 rails inside each frame, one pair per row.
- Space each pair of rails a little wider than the tote body but narrower than the lip.
- Allow about 1 to 2 inches more height per row than the tote is tall.
- Join the frames with 2×4 cross pieces at the top and bottom.
For common 27 gallon totes, three rows of four fit a rack about 8 feet long and 5 to 6 feet tall. Always anchor a tall rack to the wall studs.
2. A Narrow Tote Rack Inside a Closet
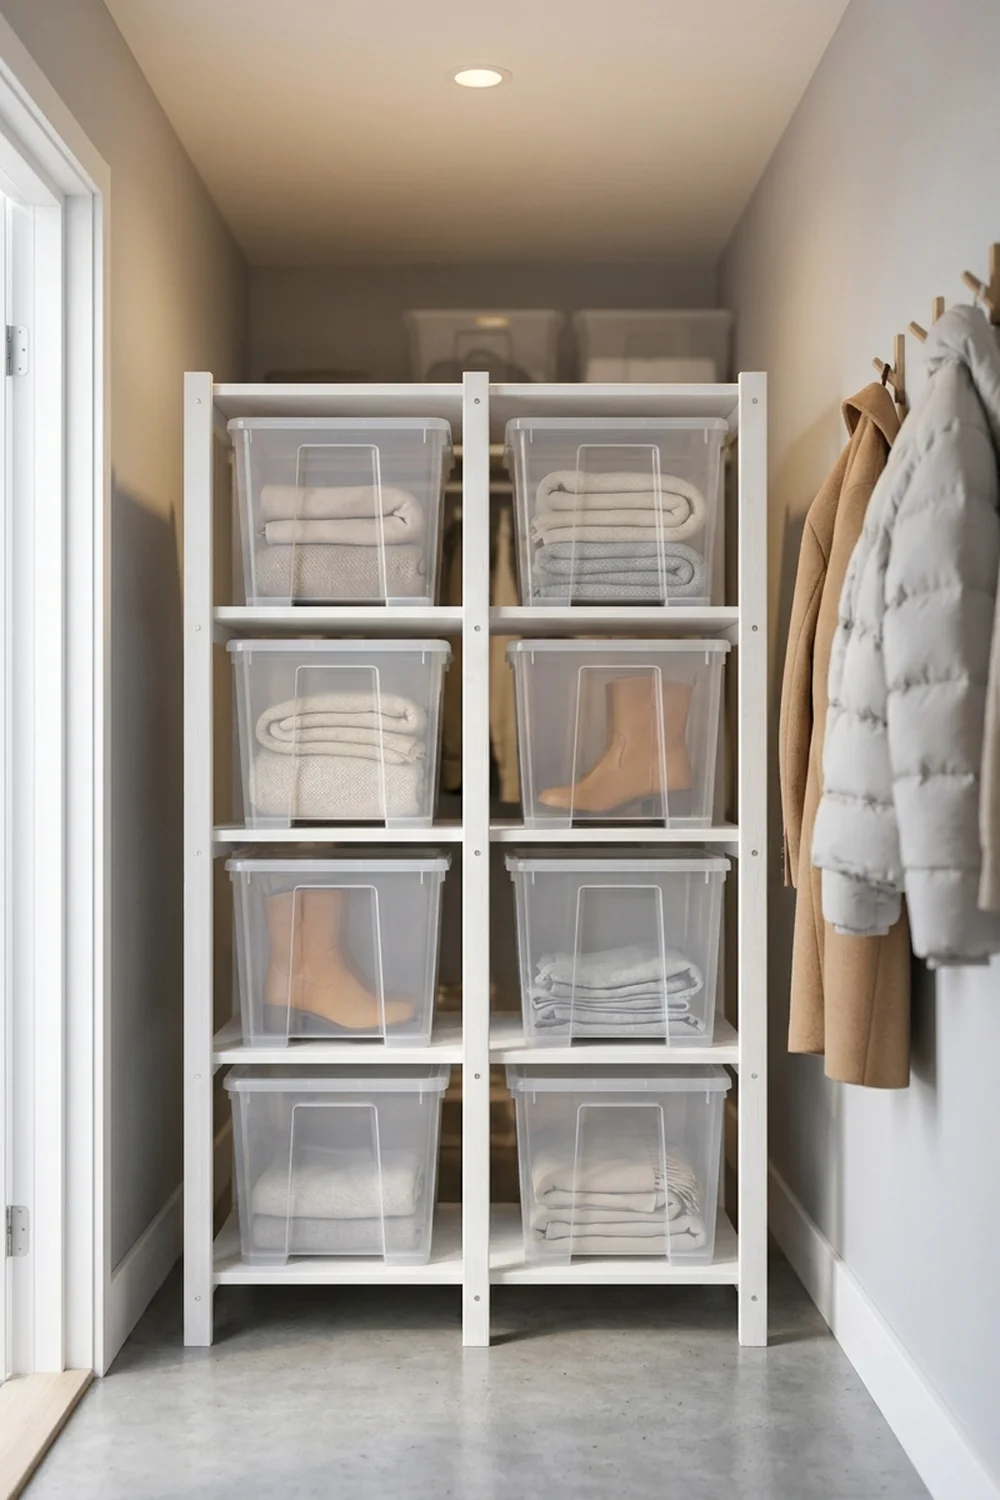
Cost: Low | Time: One afternoon | Skill Level: Beginner
Not every home has room for a big garage rack. A narrow rack two totes wide fits in a coat closet, a basement corner or a laundry room. Use the same rail method as the big rack, and paint it white or the wall color so it blends in. Clear totes let you see what is inside without opening them.
3. Shelves Sized for Your Storage Tubs
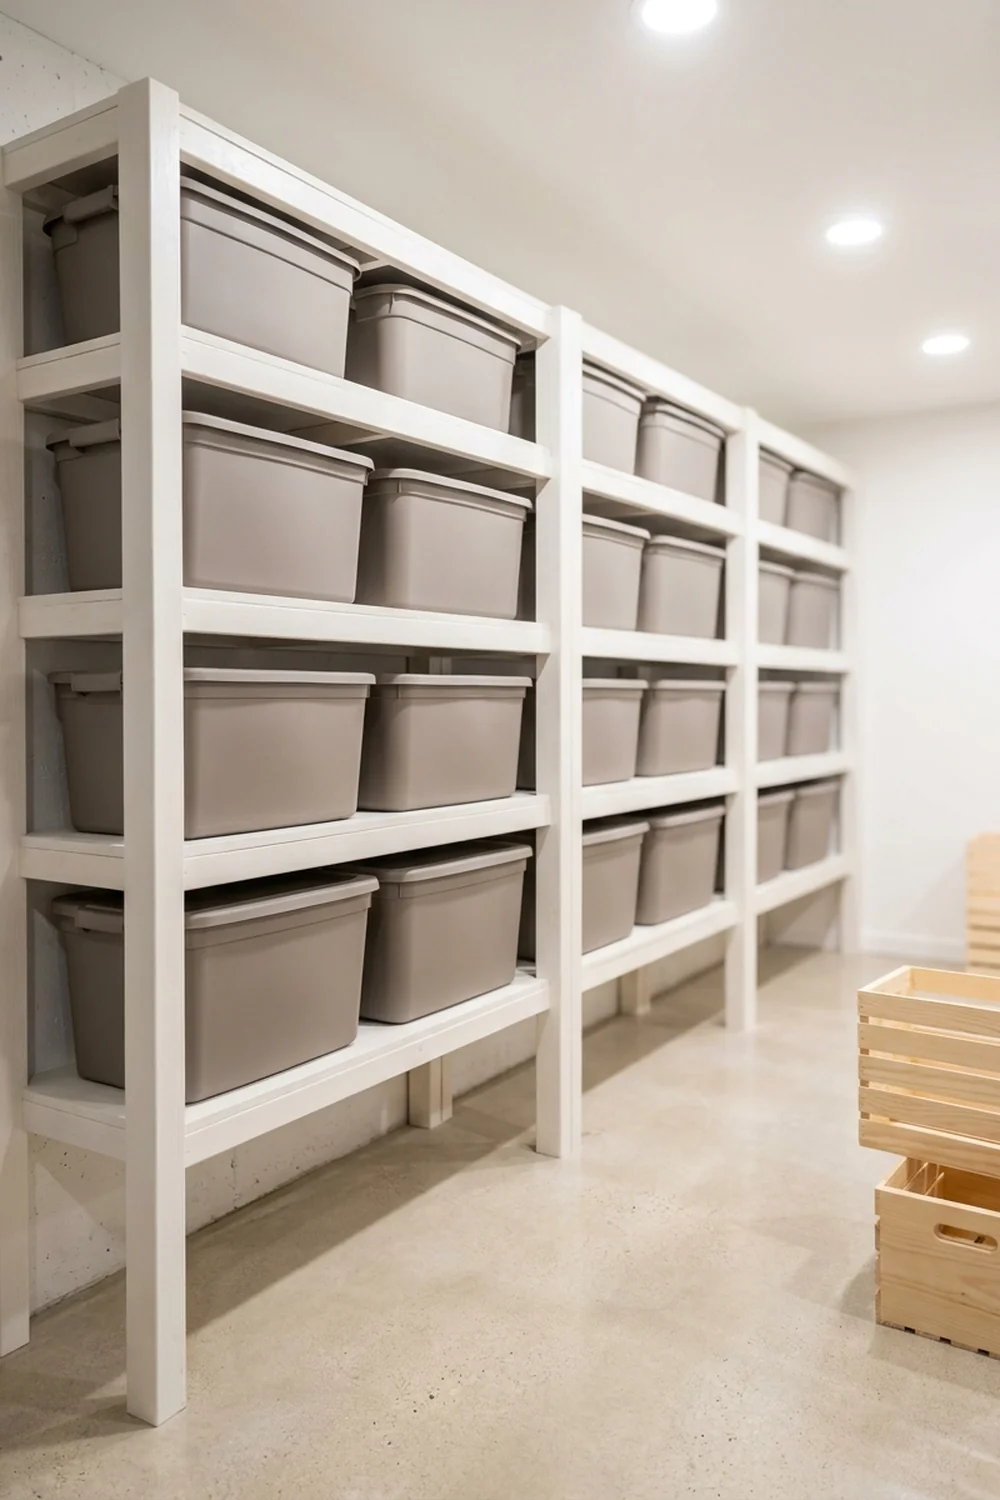
If you prefer shelves to a rail rack, build them to fit your tubs instead of buying a standard unit.
- Set the shelf depth to the tub length plus 1 inch.
- Set the height between shelves to the tub height with lid plus 2 inches.
- Use 3/4 inch plywood shelves on a 2×4 frame for heavy loads.
- Keep the heaviest tubs on the lowest shelf.
Standard shelving units often leave a foot of empty space above each row. Custom shelves can fit an extra row in the same height.
4. Label the Short End of Every Tote
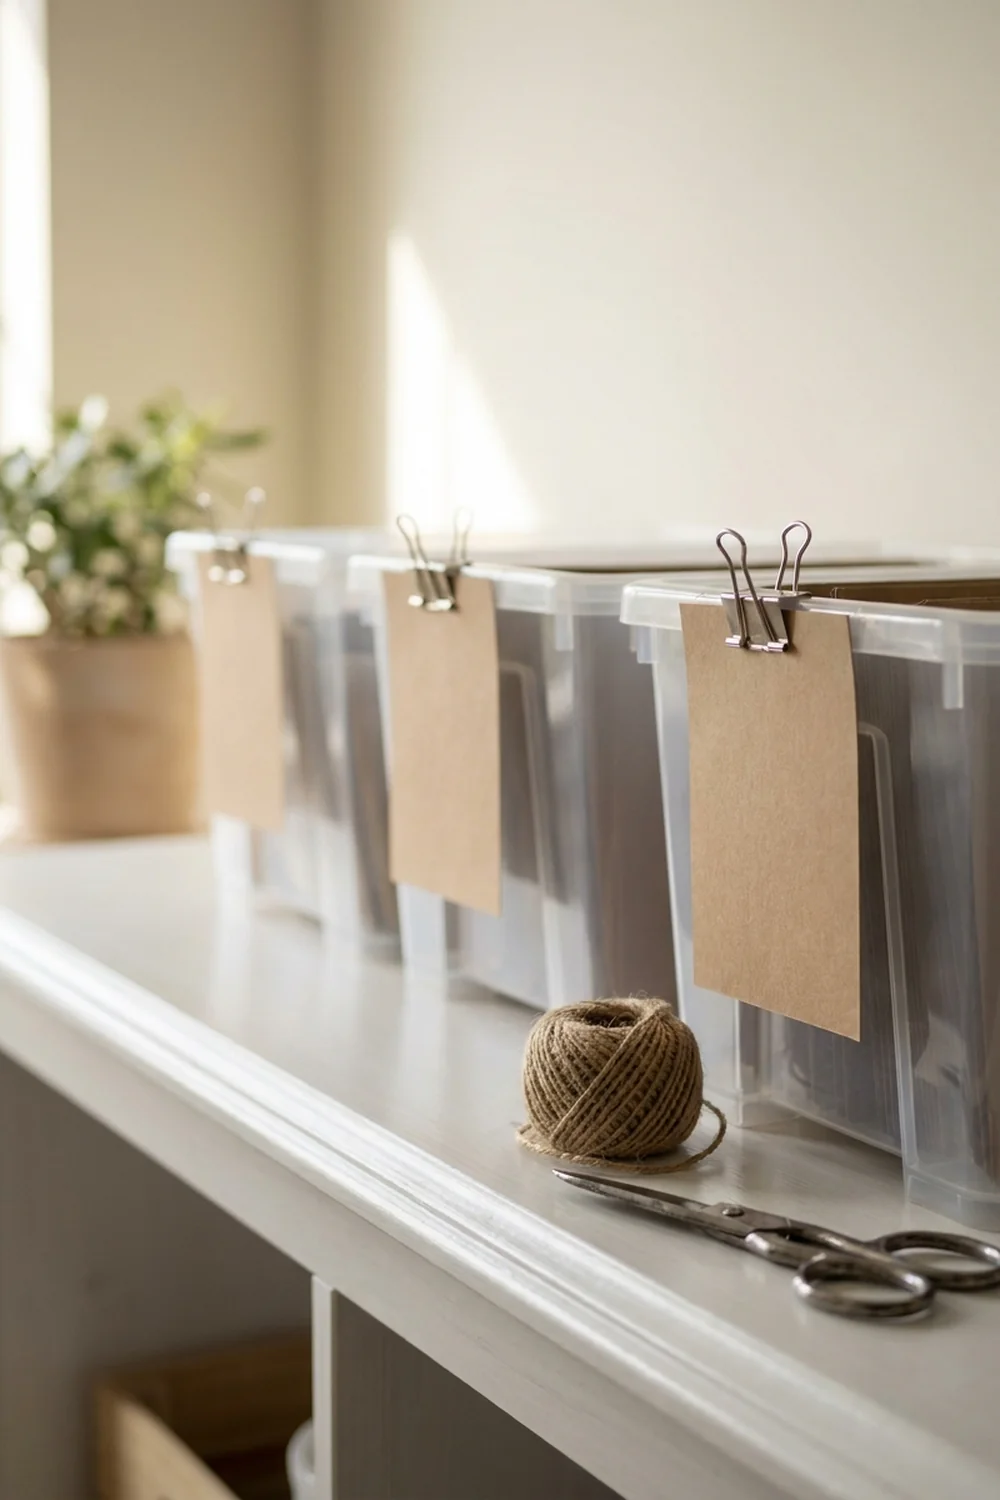
The fastest way to lose things is a stack of totes that all look the same.
| Method | Cost | Best for |
|---|---|---|
| Clip-on label holders | Low | Totes you reuse often |
| Printed labels under clear tape | Low | Long term storage |
| Numbered totes plus a list | Very low | Garage and attic storage |
Put labels on the short end that faces out of the rack or shelf. A numbered tote with a simple list on your phone means you can find the holiday lights in seconds.
5. Fabric-Covered Cardboard Storage Boxes
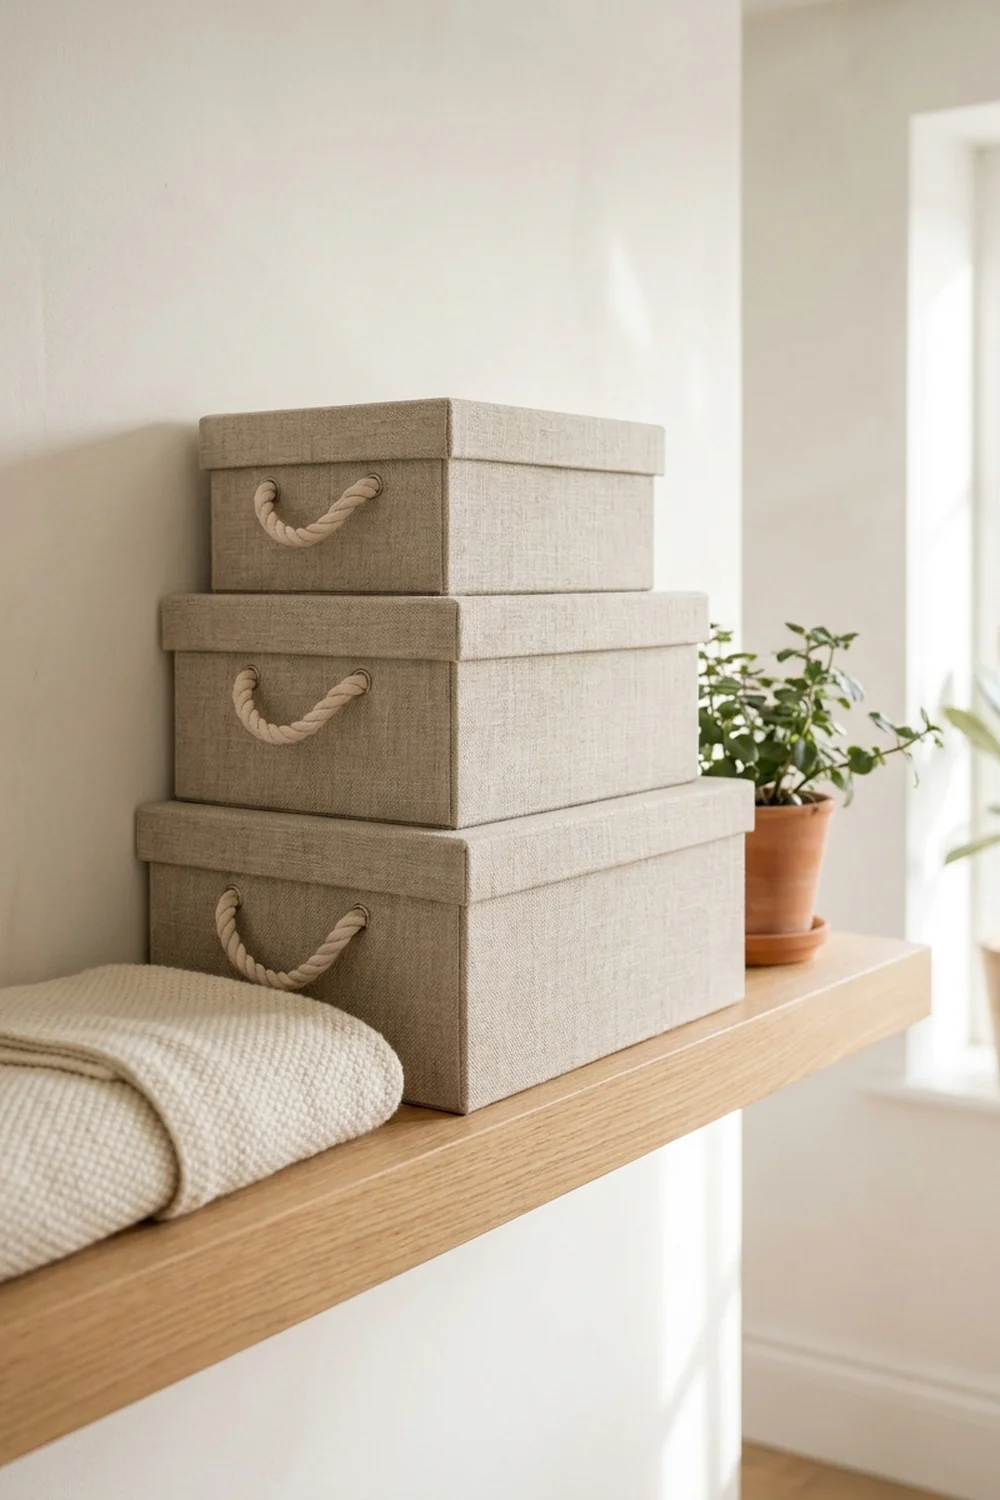
Sturdy shipping boxes become pretty storage boxes with a little fabric and glue.
- Cut the flaps off a strong cardboard box.
- Cut fabric large enough to wrap the box with 2 inches extra inside.
- Spray the outside with fabric adhesive and smooth the fabric on.
- Fold the extra fabric over the top edge and glue it inside.
- Glue a piece of cardboard covered in fabric inside the bottom.
- Punch two holes on each end and knot rope through for handles.
Linen, canvas and cotton duck all look calm and wear well. Make several from the same fabric so they look like a matching set.
6. Cloth Storage Boxes for Clothes
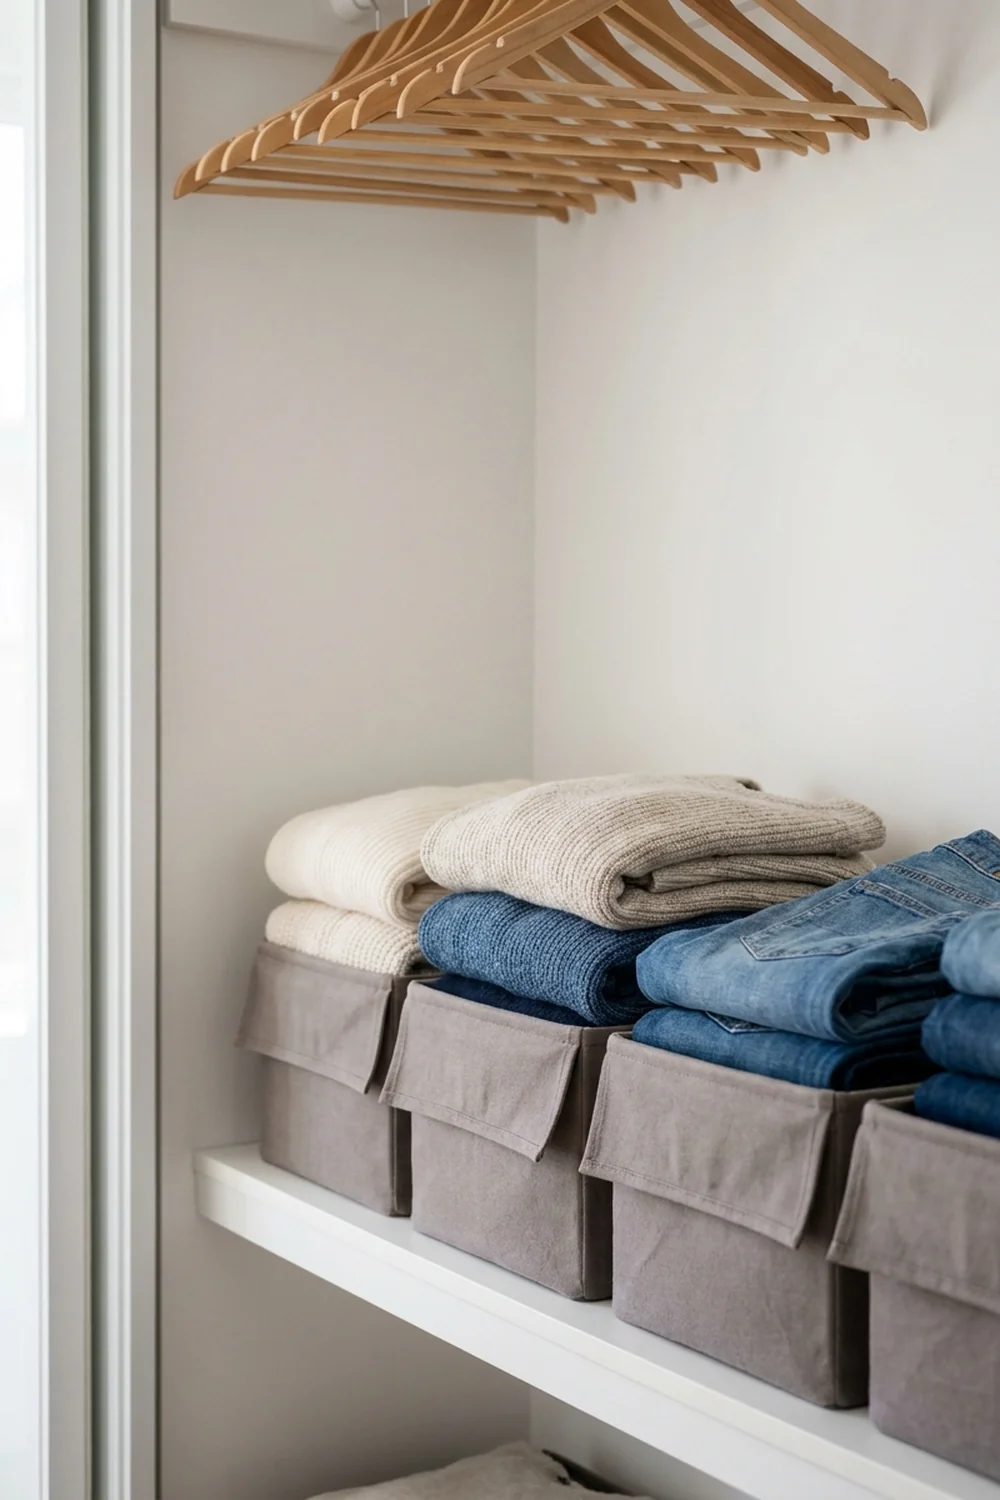
Cost: Low | Time: 2 hours | Skill Level: Beginner
Cloth storage boxes for clothes are lighter than plastic and let fabric breathe. Sew a simple canvas box, or skip the sewing and line a cardboard box with fabric on the inside and outside. Size the box to your shelf depth, usually about 12 to 15 inches, and keep one type of clothing in each box.
7. Shoe Box Drawer Organizers
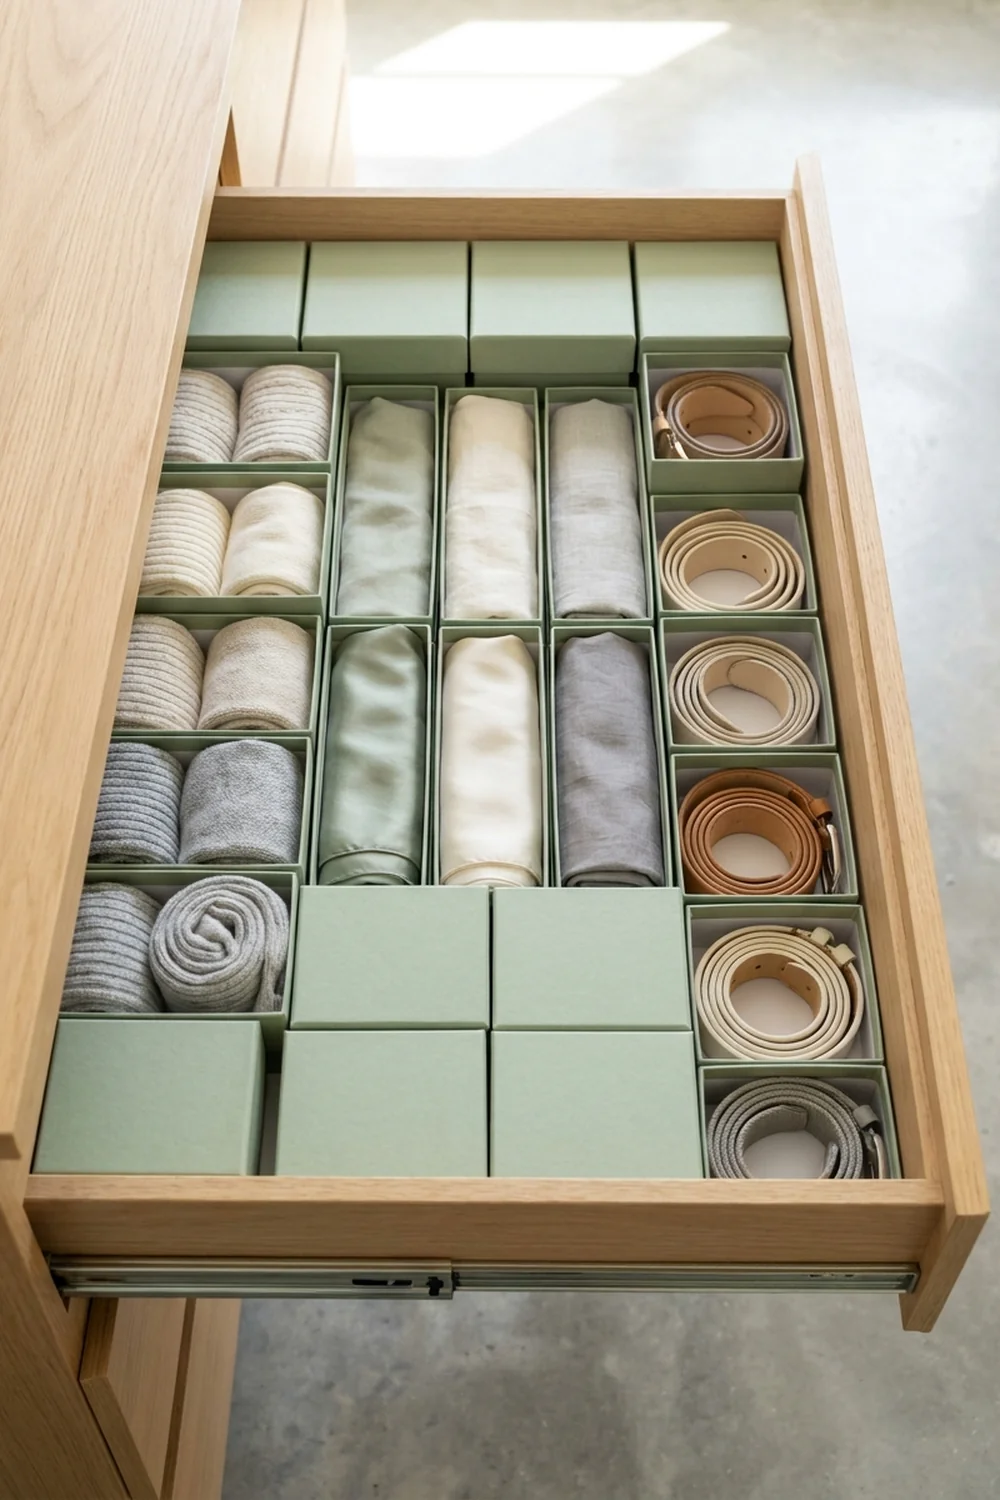
Shoe boxes and their lids make perfect drawer dividers. Cover them in wrapping paper, wallpaper samples or contact paper, then fit them side by side in a drawer.
- Lids work for shallow items like jewelry and belts.
- Full boxes hold socks, scarves and underwear.
- Mix sizes to fill the drawer from edge to edge.
Everything stays in its own small bin, and the drawer never turns into a jumble again.
8. Rope-Wrapped Bins
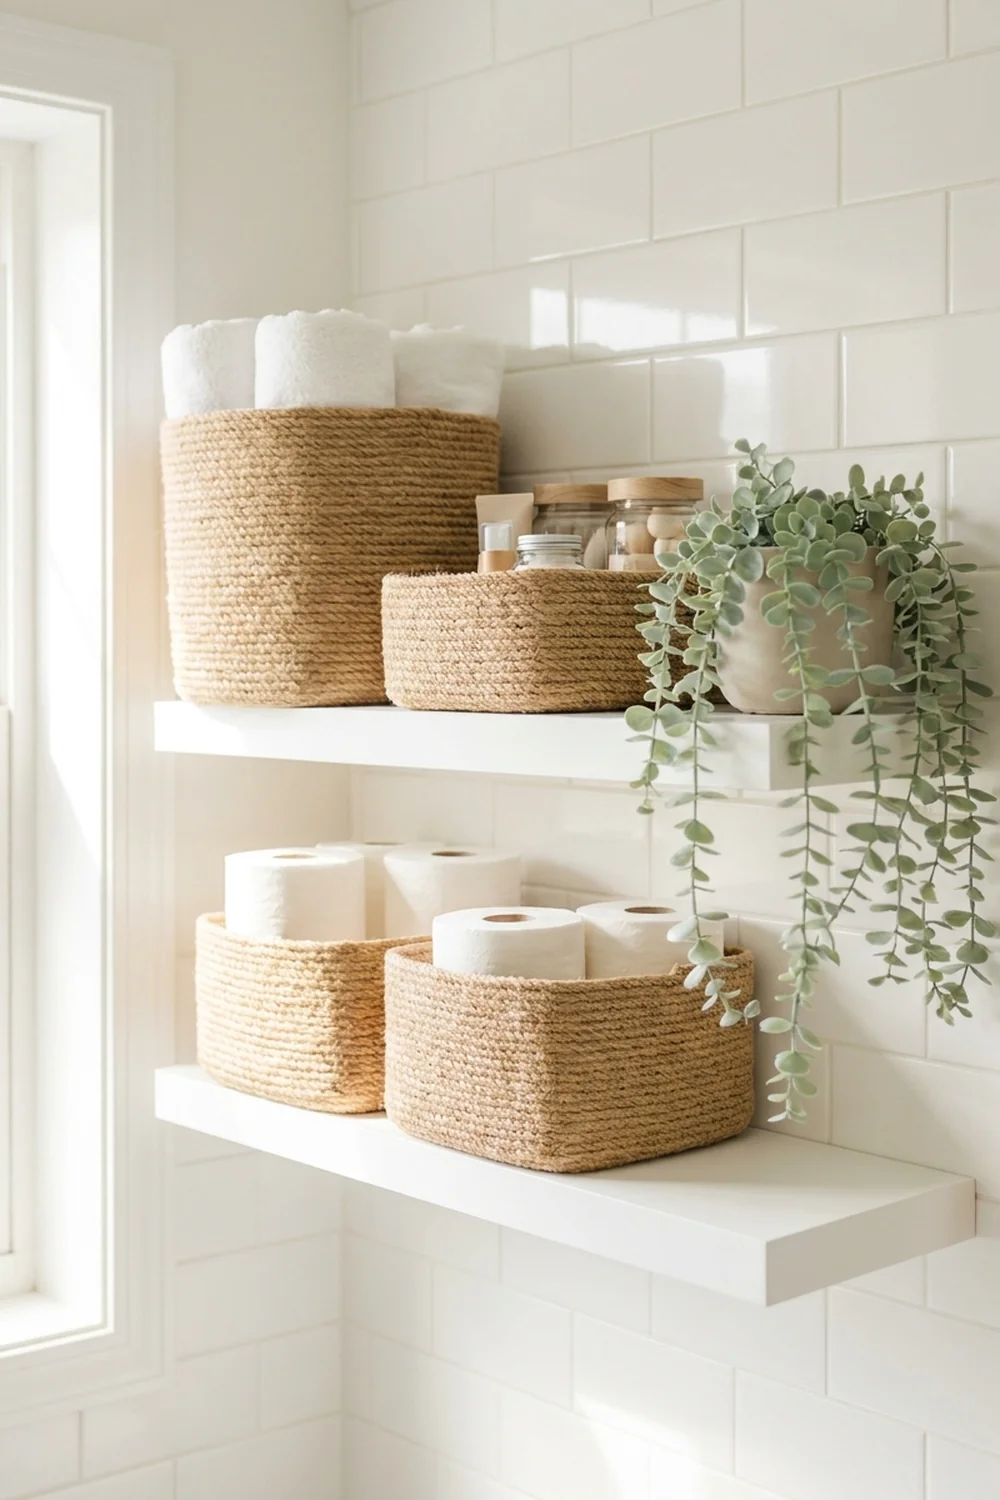
Plastic containers, coffee cans and old buckets turn into warm woven-look bins with jute rope and hot glue.
- Start at the bottom edge and glue the rope end down.
- Wrap tightly around the container, adding a line of glue every few turns.
- Keep each row pressed against the last one.
- Finish inside the top edge and trim the rope.
Rope bins suit bathrooms, kids’ rooms and entry shelves. Our bathroom decor ideas show how woven textures warm up a small space.
9. Wooden Crate Shelving
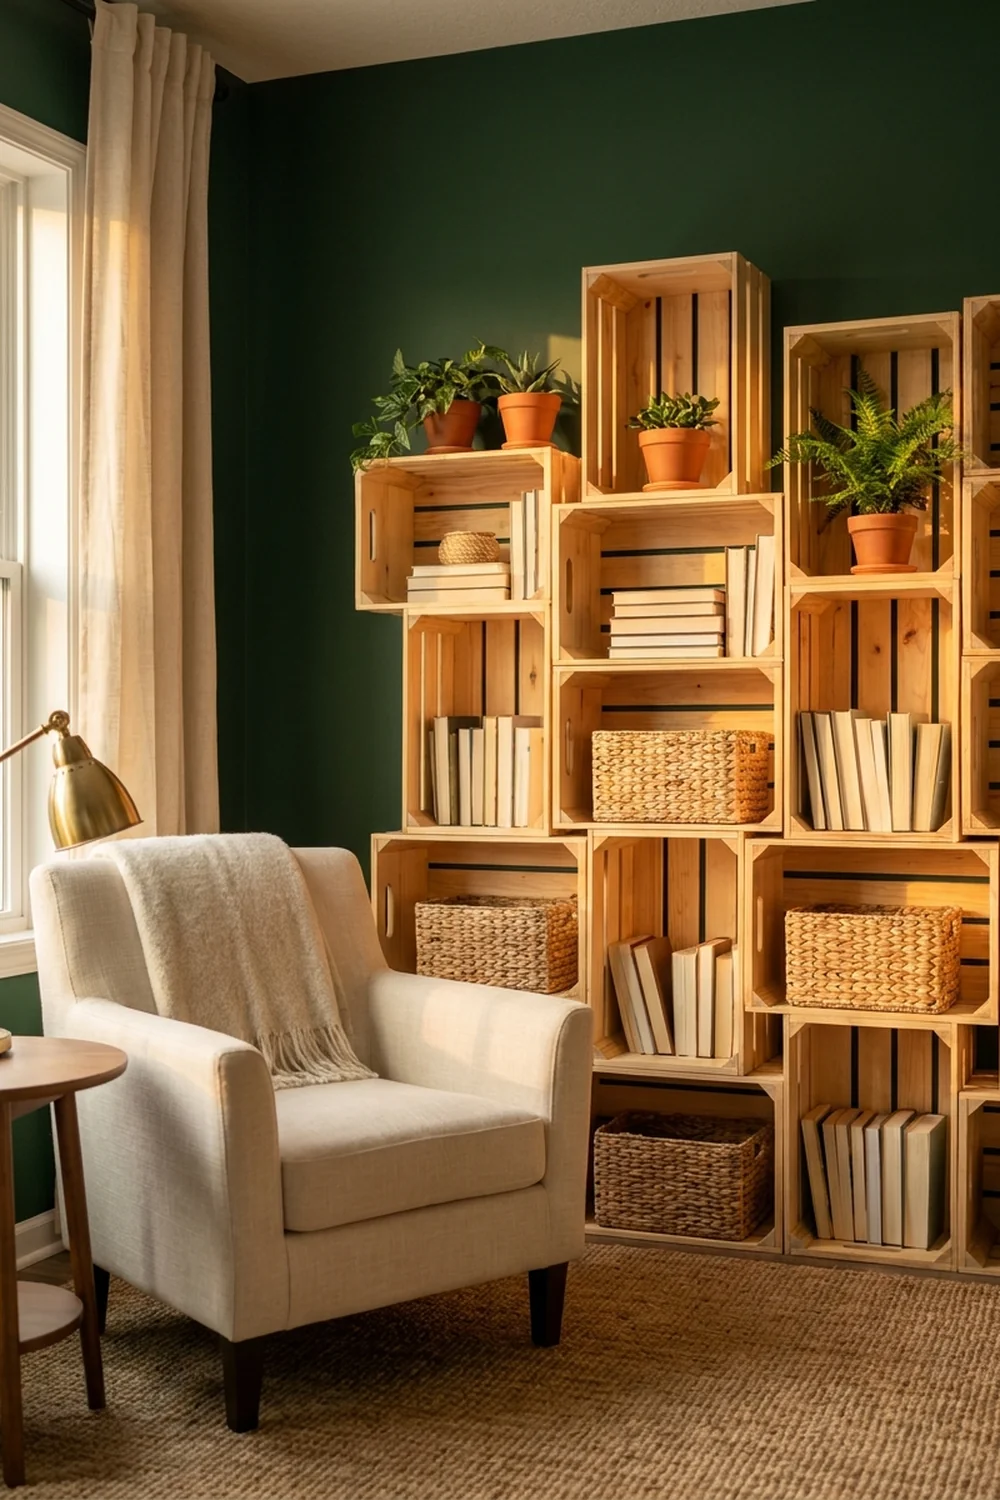
Wooden crates are one of the cheapest ways to build open shelving. Stack them in a grid, turn some on their sides and screw them together through the sides so they cannot shift.
Standard craft crates measure about 18 by 12 by 9 inches, which fits books, baskets and records. Sand any rough edges and finish with a clear matte sealer or a light stain. Always secure a tall crate stack to the wall.
10. Rolling Crates Under the Bed
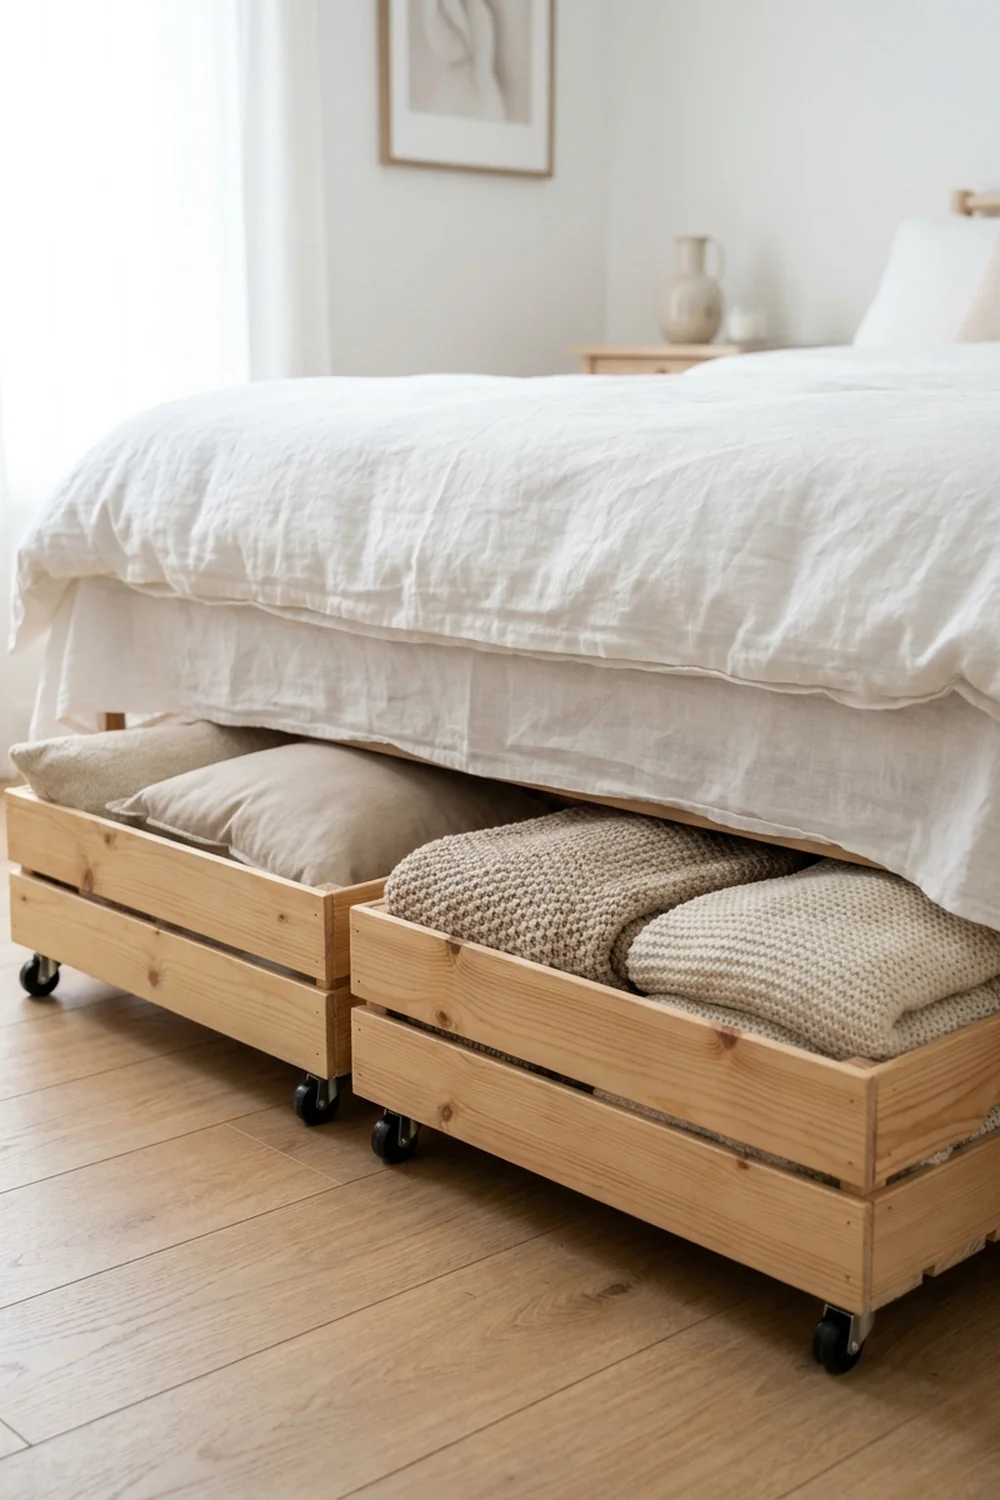
Cost: Low | Time: 1 hour | Skill Level: Beginner
The space under the bed holds more than you think. Screw four small casters to the bottom of a shallow crate, and it rolls out like a drawer. Measure the space first; most beds leave 6 to 10 inches. Use these rolling bins for spare bedding, out of season clothes or kids’ toys.
11. A Painted Crate Bookcase
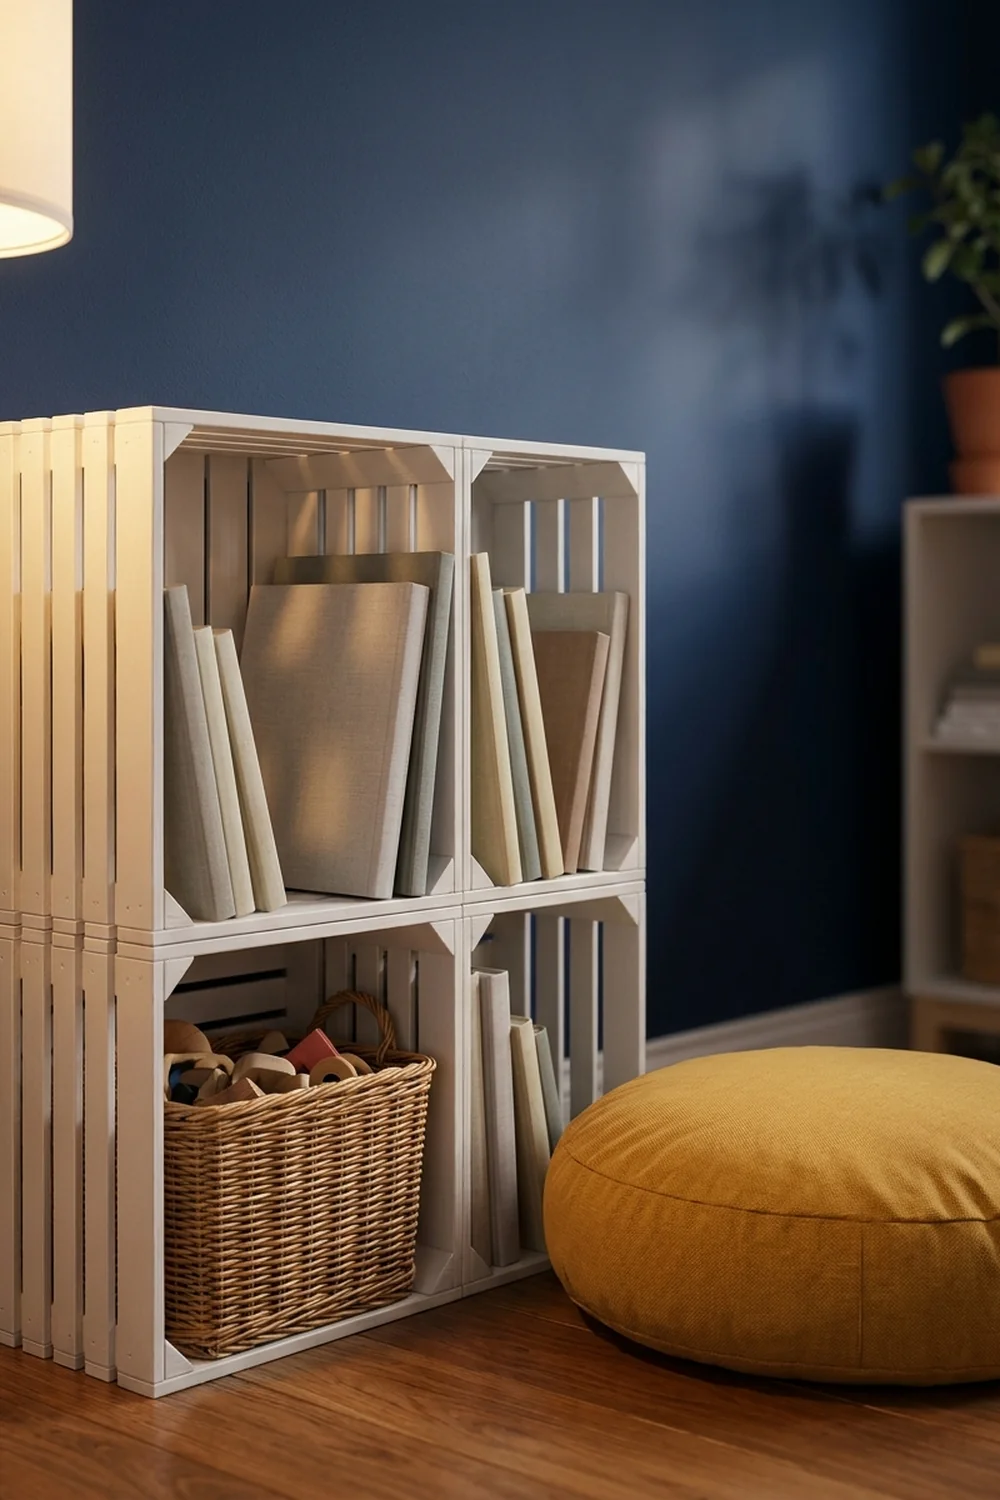
Before: Children’s books piled in a basket where no one can see the covers. Nobody reads them.
After: Four painted crates stacked into a low bookcase, with favorite books facing out. Kids grab them on their own.
Paint the crates in a soft color or leave the natural wood. A low bookcase is safer for children and keeps every book within reach.
12. Cereal Box Desk Organizers
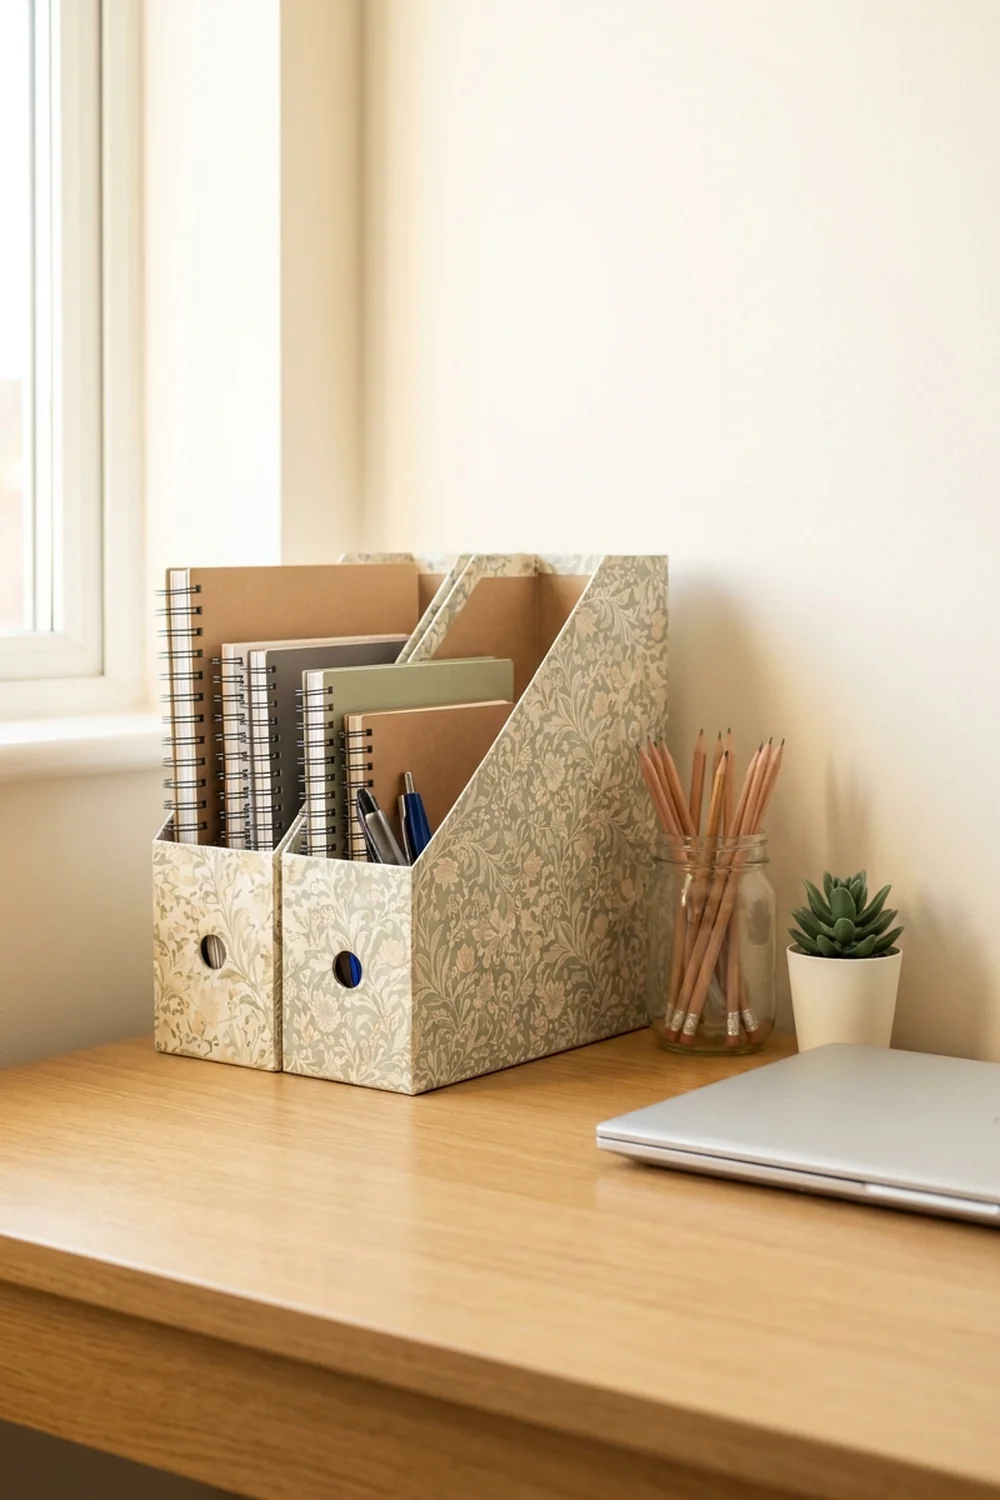
Cereal and cracker boxes make sturdy magazine files and desk organizers.
- Cut the box at an angle from the top front to halfway down the side.
- Cover it with wrapping paper, wallpaper or contact paper.
- Line up several boxes for files, notebooks and mail.
- Cut small boxes short to hold pens, chargers and sticky notes.
This is one of the easiest DIY office storage ideas. Paper covered boxes look tidy and cost almost nothing.
13. Glass Jars for Small Supplies
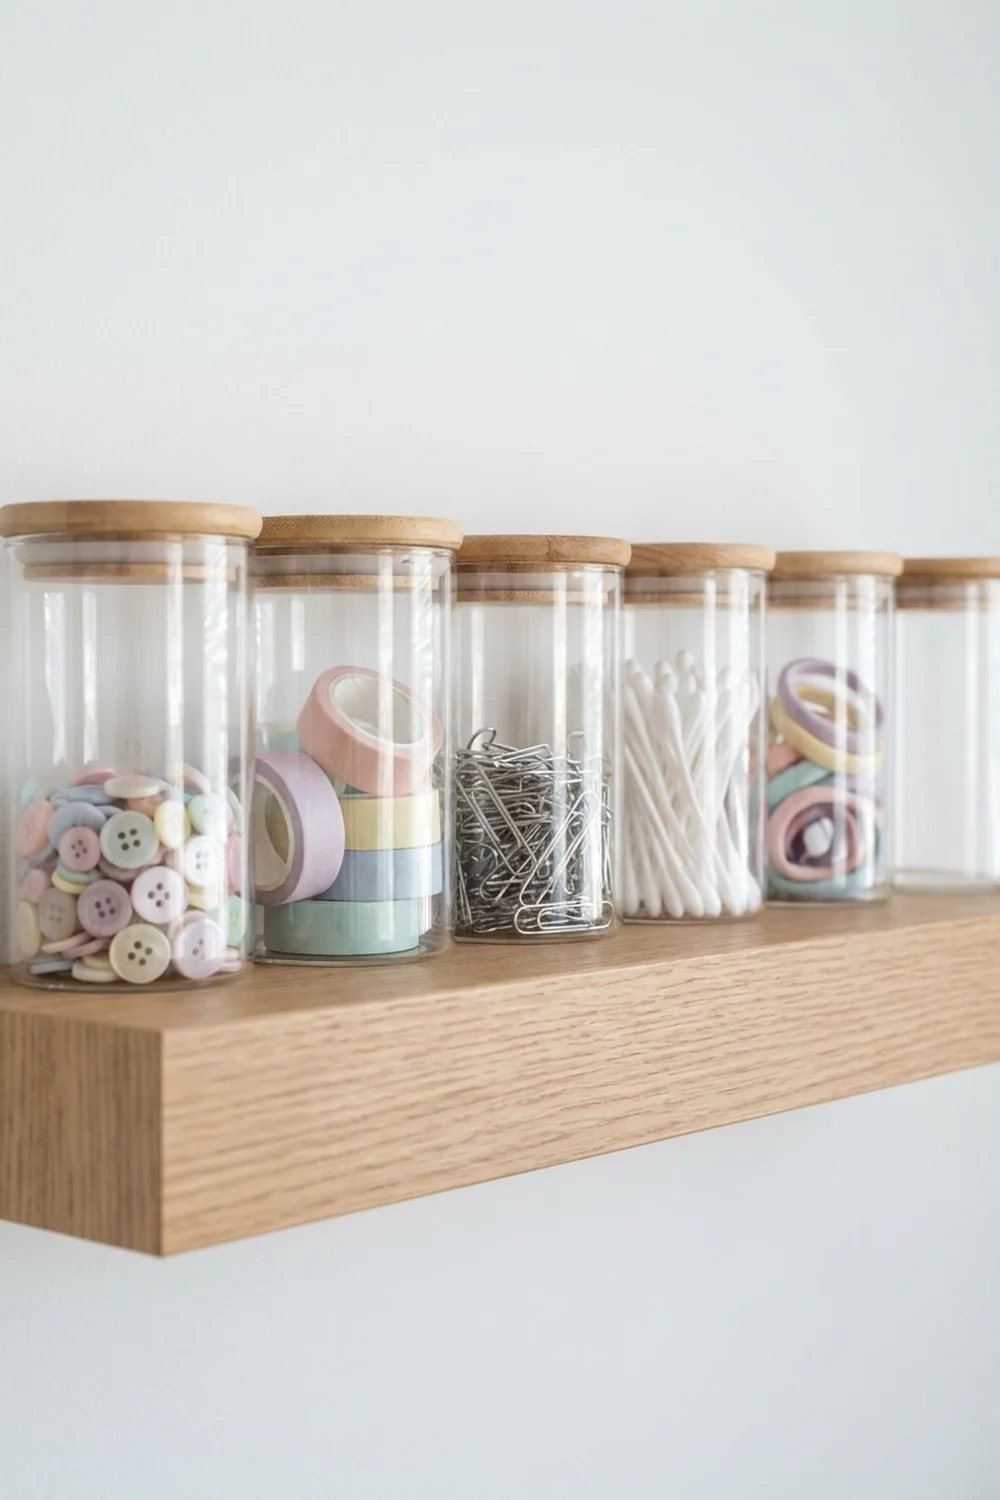
Small items vanish in big bins. Save pasta sauce jars, jam jars and candle jars, wash them well and use them for buttons, clips, hair ties or craft supplies.
Clear glass lets you see what is inside at a glance. Paint the lids one color, and the mixed jars suddenly look like a matching set.
14. No-Sew Felt Baskets
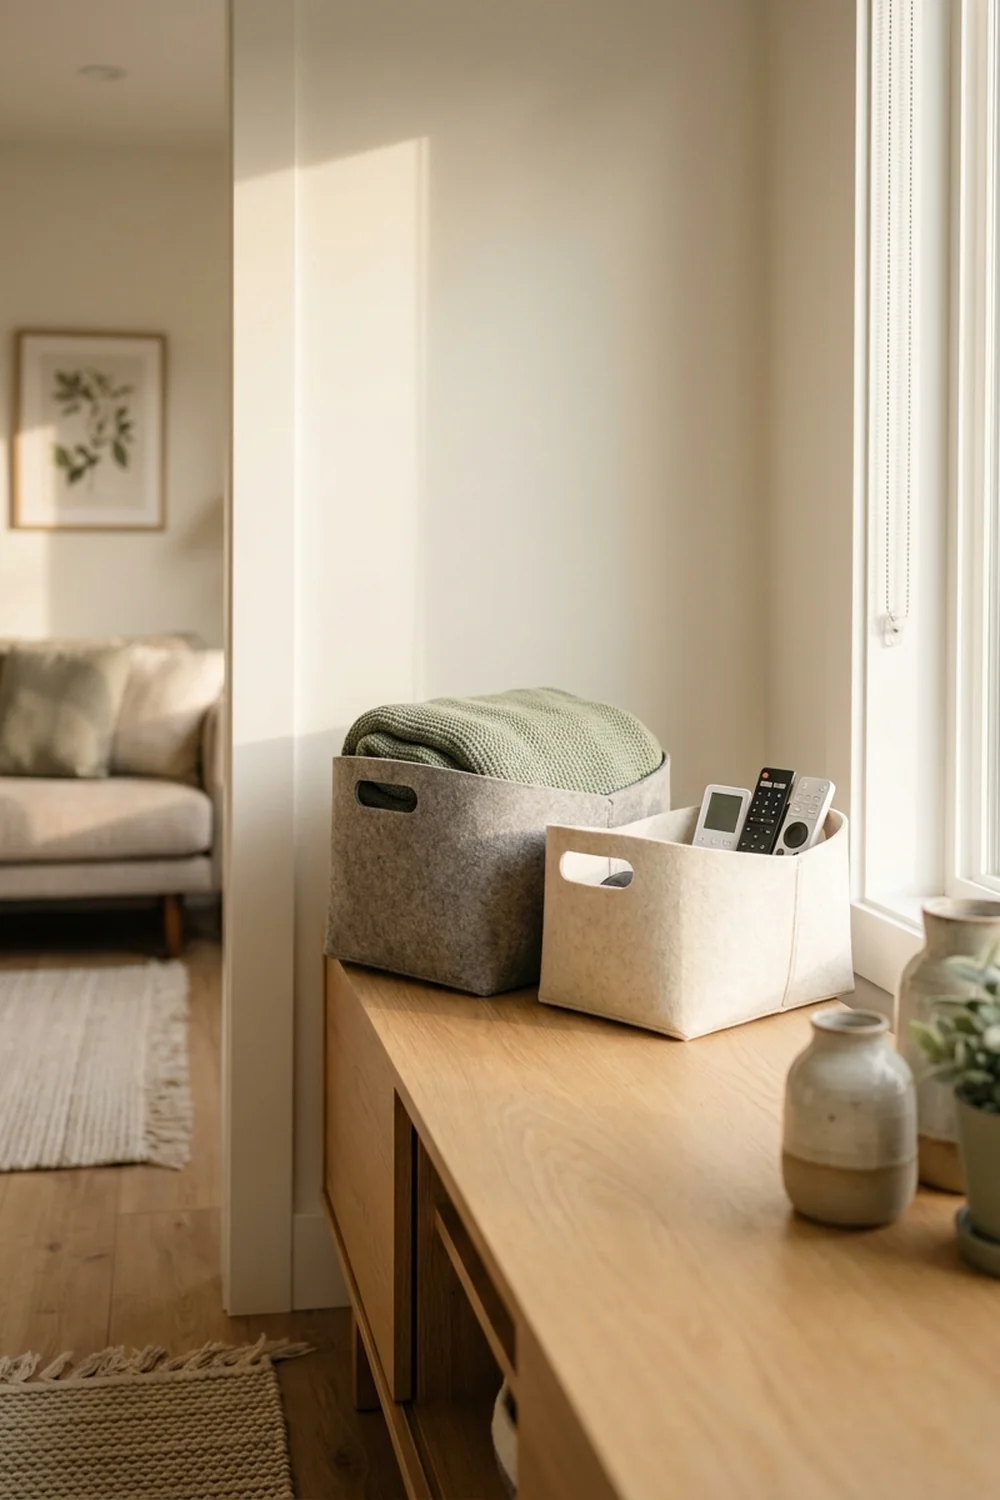
Cost: Low | Time: 1 hour | Skill Level: Beginner
Thick felt holds its shape without a frame, so you can make soft baskets with fabric glue and no sewing. Cut a base and four sides, glue the edges together and cut a slot near the top of each end for handles. Felt baskets are soft, quiet and safe for kids’ rooms and living areas.
15. Canvas Bins With Leather Handles
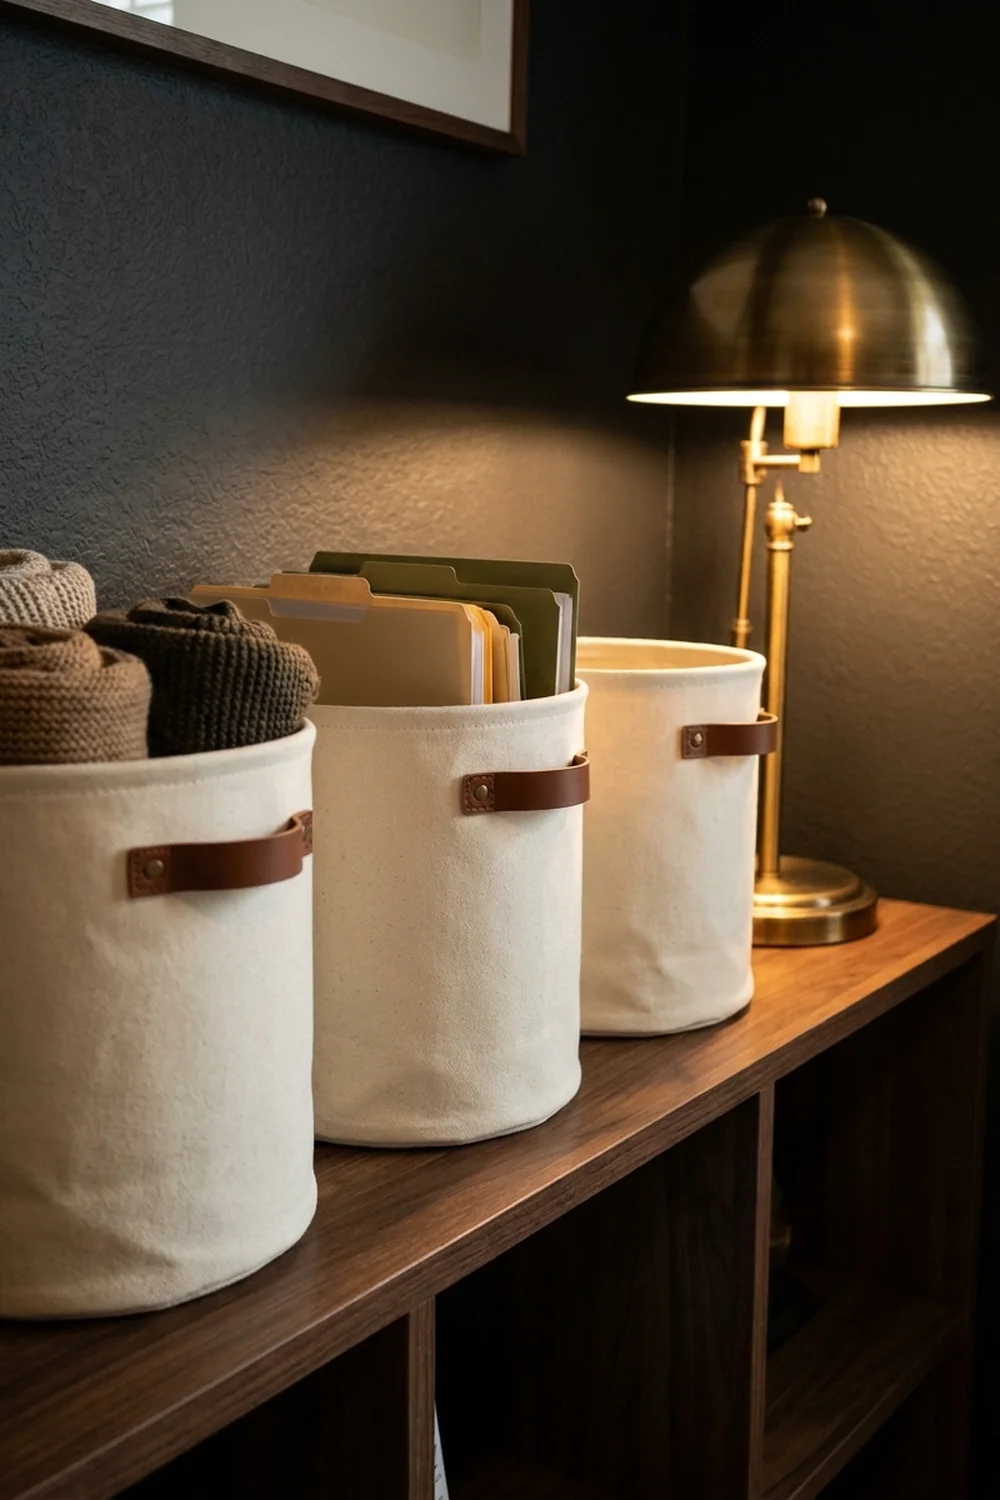
Canvas bins look clean and expensive, and they are easy to make from a drop cloth.
- Cut panels from a painter’s canvas drop cloth.
- Sew or glue the seams and fold a deep cuff at the top.
- Add a leather strap or faux leather tab as a handle.
- Slip a piece of cardboard into the bottom for shape.
A drop cloth is cheap and large enough for several bins, so a whole shelf can match.
16. Contact Paper Makeover for Plastic Bins
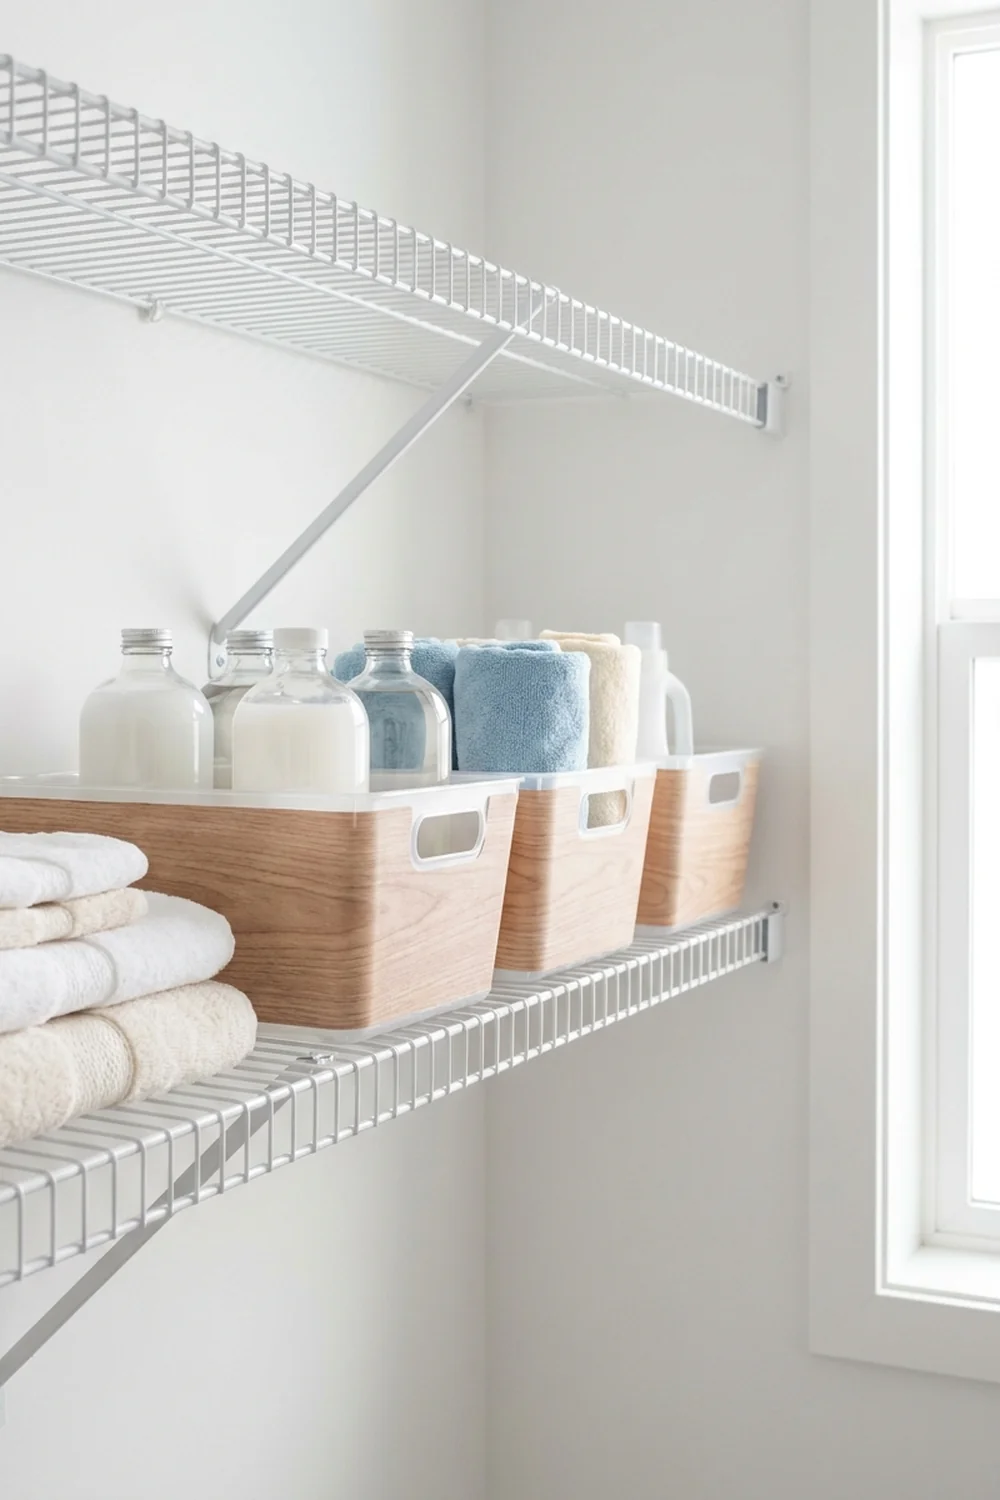
Mismatched plastic bins from different stores can look like a set with one roll of contact paper. Cover only the front panel so you can still see inside from the top.
Wood grain, linen texture and soft white contact paper all look calm and natural. Smooth out bubbles with a card as you go, and wipe the bins clean before you start so the paper sticks well.
17. Clear Bins for Kids’ Toys
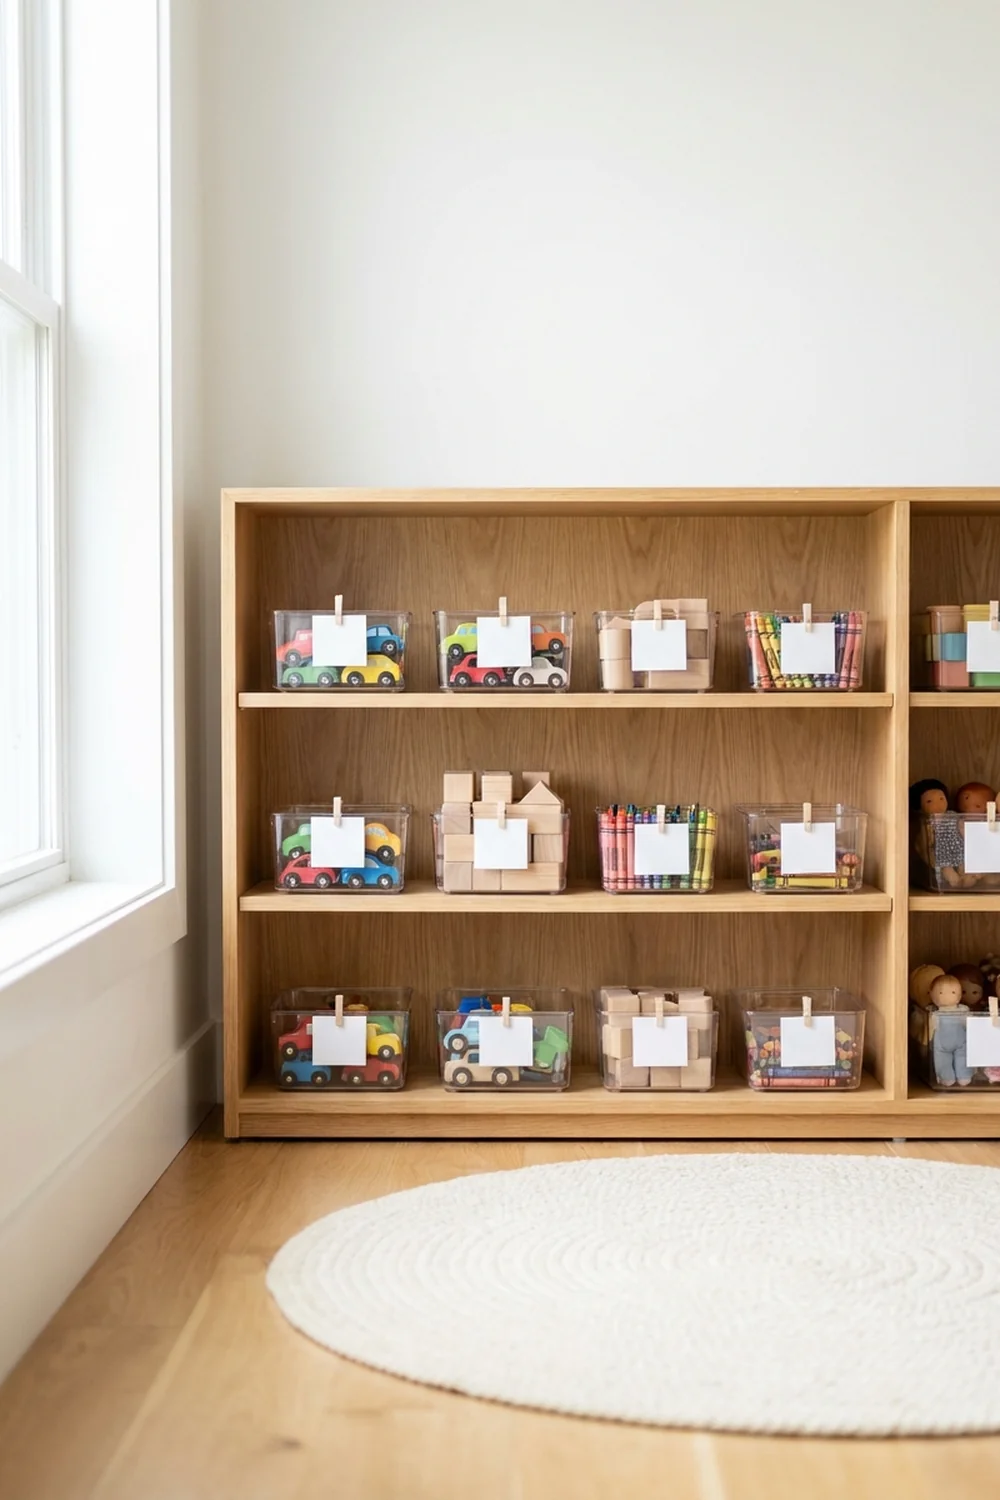
Kids clean up faster when they can see where things go.
- Sort toys into simple groups like blocks, cars and art.
- Give each group one clear bin.
- Add a picture card on the front for young children.
- Keep bins on low shelves that kids can reach.
Small bins work better than one big toy box, because everything stays sorted and easy to find.
18. Scrap Wood Shelf Risers
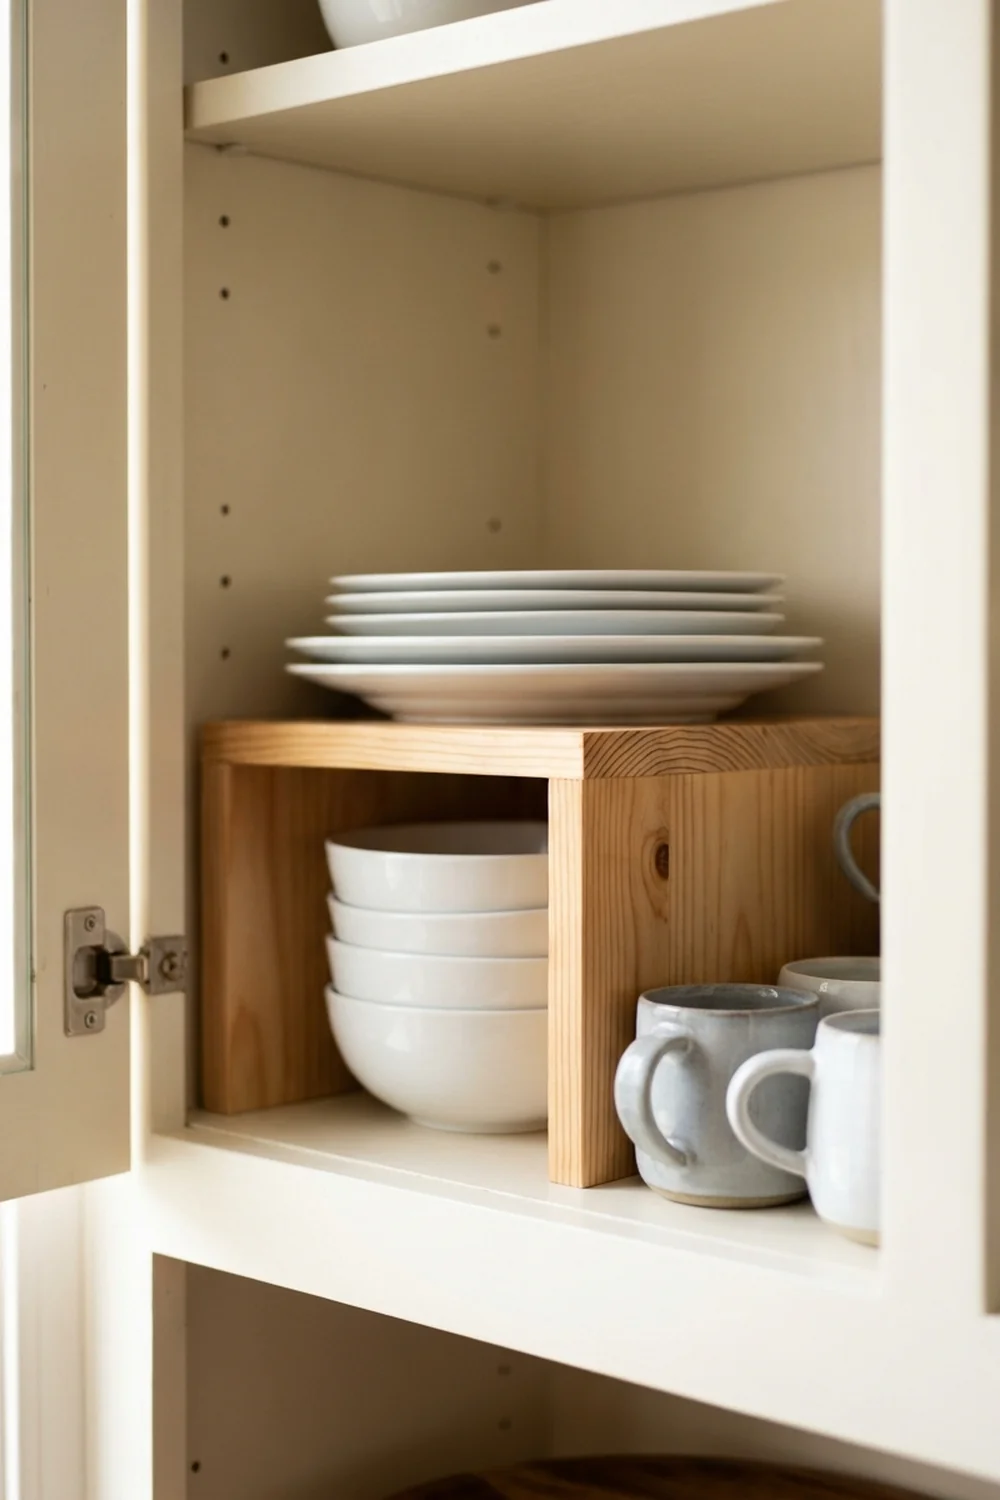
Cost: Low | Time: 30 minutes | Skill Level: Beginner
A cabinet with one shelf wastes the space above. A simple riser made from three pieces of scrap wood creates a second level for plates, cans or toiletries. Cut the top piece slightly shorter than the cabinet width, and the legs about 5 to 6 inches tall for most plates and bowls.
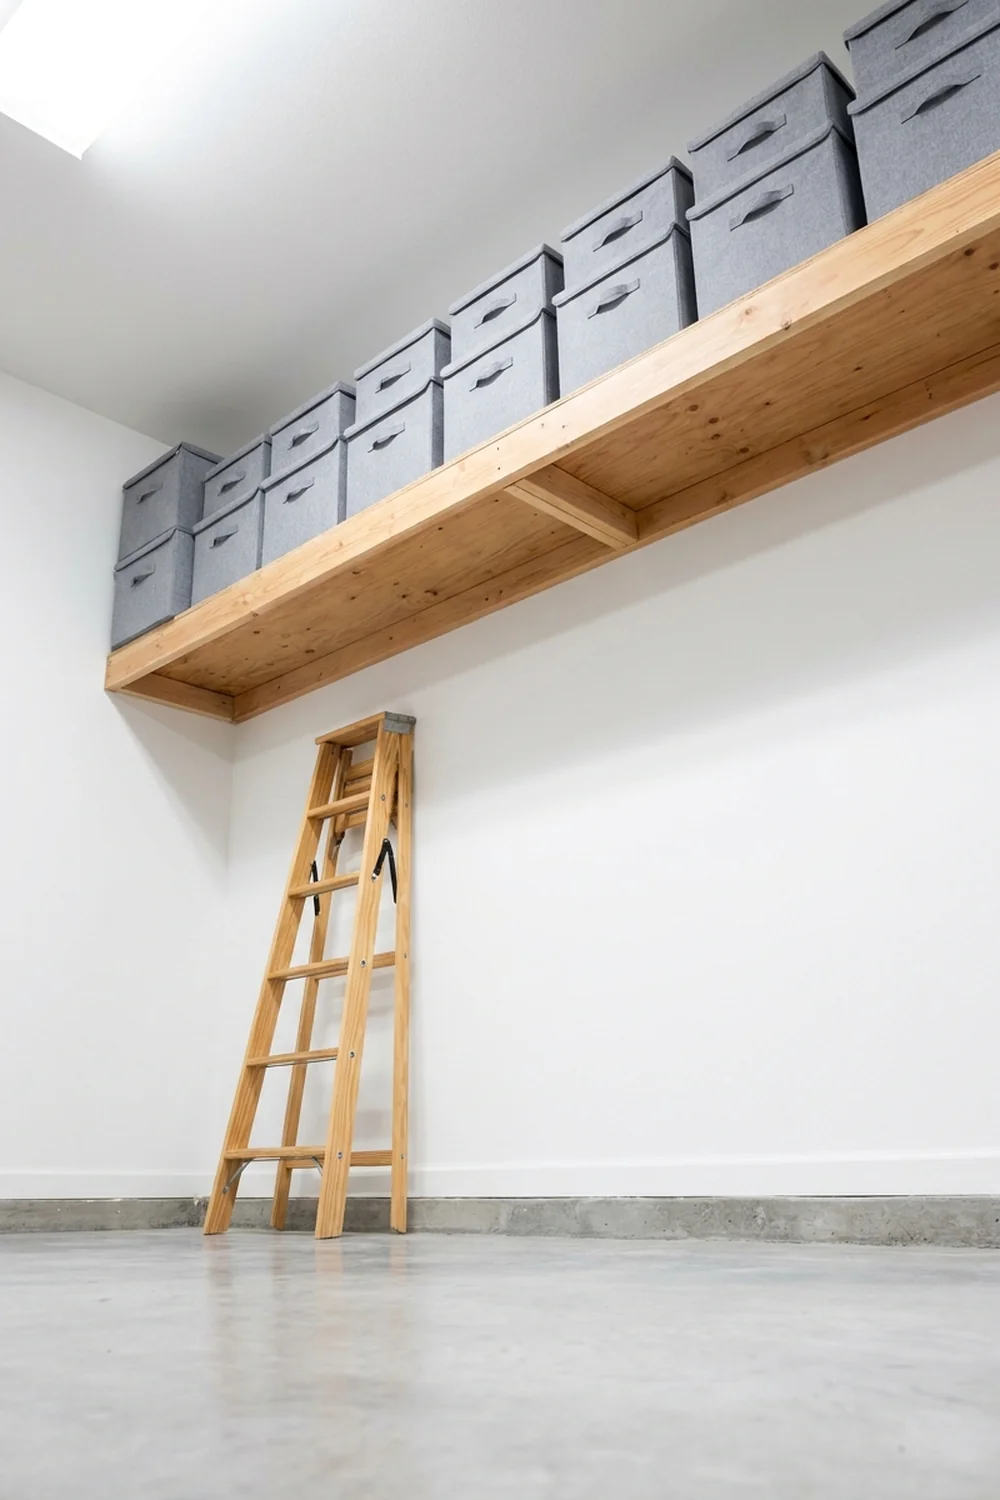
19. Seasonal Bins Stored Up High
Do:
- Store bins you open once or twice a year on the highest shelves.
- Keep heavy bins at waist height or lower.
- Group seasonal bins together so you find them all at once.
Don’t:
- Overfill totes so the lids bend and stacks lean.
- Store items you use weekly up high.
- Stack more than three full totes on top of each other.
Holiday decor, out of season clothes and memory boxes belong up high, so the easy to reach space stays free for daily things.
20. A Simple Bin Inventory
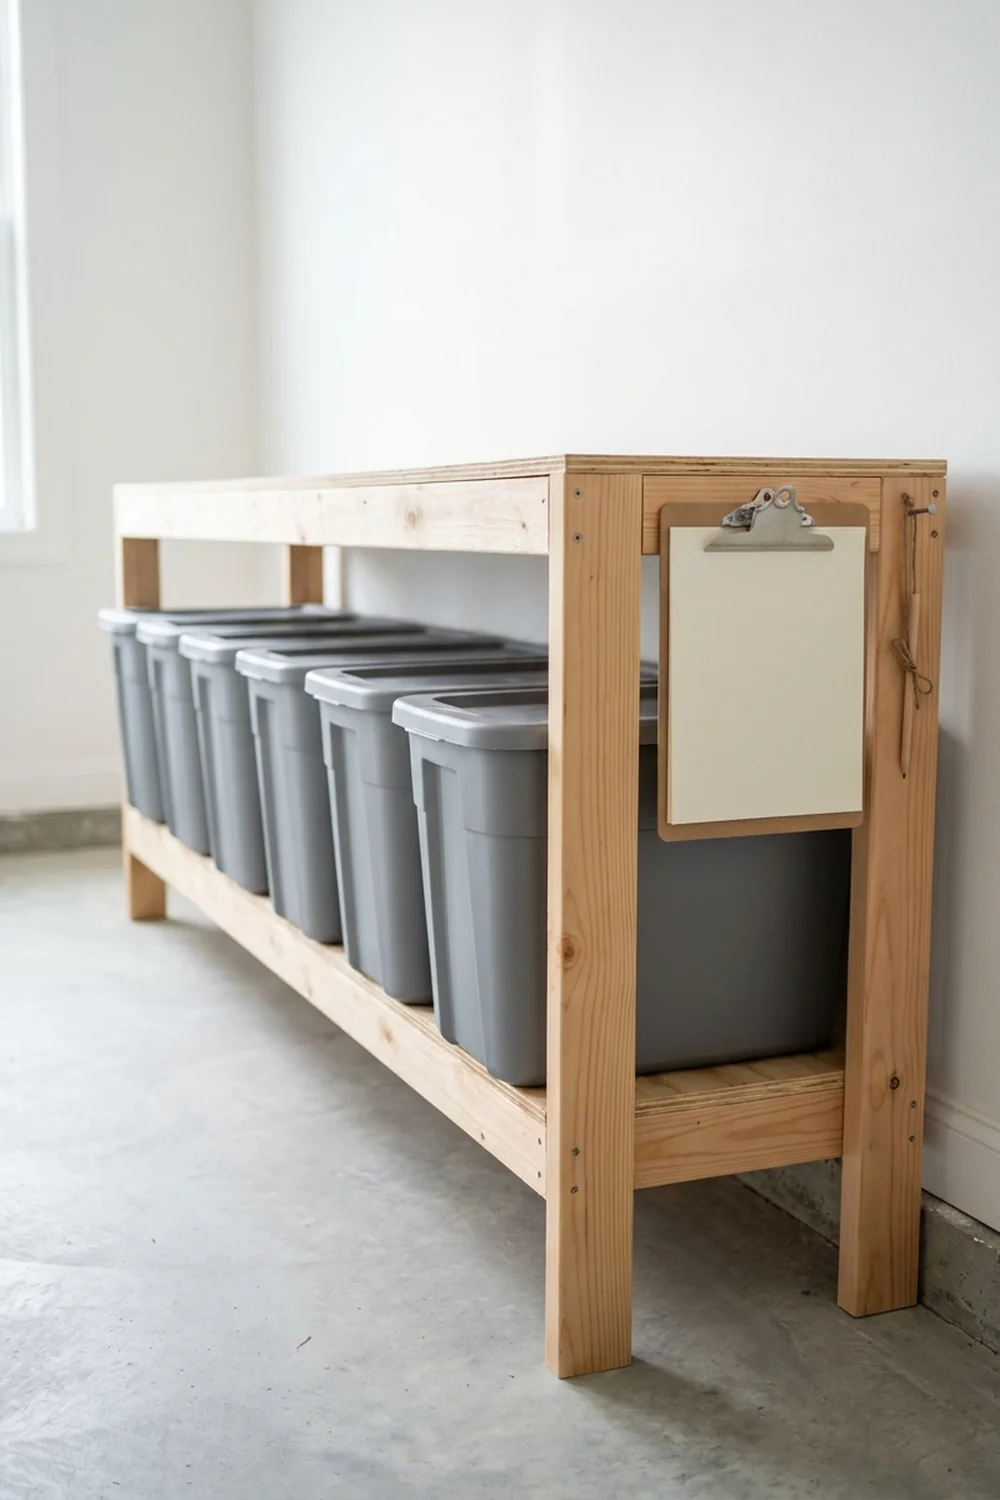
The best storage system fails if you forget what is in each bin. Give each tote a number, then keep a simple list in a note on your phone or on a clipboard by the rack.
Write the bin number and a few words for what is inside, and update it whenever you add or remove something. It takes five minutes and saves hours of searching later.
Frequently Asked Questions
How do I build a simple tote storage rack?
Build two side frames from 2x4s, add rails so each tote hangs by its lip, and join the frames with cross pieces. Space each pair of rails a little wider than the tote body but narrower than the lip, and anchor the rack to the wall.
How much space do I need for a tote rack?
For common 27 gallon totes, three rows of four totes fit a rack about 8 feet long and 5 to 6 feet tall. Measure your own totes first, since sizes vary by brand.
How do I make storage boxes from cardboard?
Cut the flaps off a sturdy box, wrap it in fabric with spray adhesive, fold the extra fabric inside and add rope handles. Glue a fabric covered piece of cardboard into the bottom for a clean finish.
What can I use as storage bins for free?
Shoe boxes, cereal boxes, glass jars, shipping boxes and old plastic containers all work well. Cover them with paper, fabric or rope so they look like a matching set.
How should I store storage bins?
Keep heavy bins low, seasonal bins up high and daily items at waist height. Label the short end of each bin and keep a simple list of what is inside.
Are fabric storage boxes good for clothes?
Yes. Fabric boxes are light, let clothes breathe and fit neatly on closet shelves. Keep one type of clothing in each box so you can find things quickly.
Final Thoughts
Good storage does not have to come from a store. A tote rack built to fit your bins, fabric boxes made from shipping cartons and a few rope or canvas bins can organize a whole home on a small budget.
Pick the spot that frustrates you most, measure it and build one solution this weekend, whether that is a rack in the garage or boxes for a closet shelf. Then bring the same calm, woven textures into the rest of the house with our living room decor ideas. These DIY storage bin ideas keep paying off every single day.

Written by Nora Bennett
Nora Bennett is the founder and editor of Olive & Loft. She shares calm, practical home decor ideas for every room and season that you can try this weekend.
About Olive & Loft →